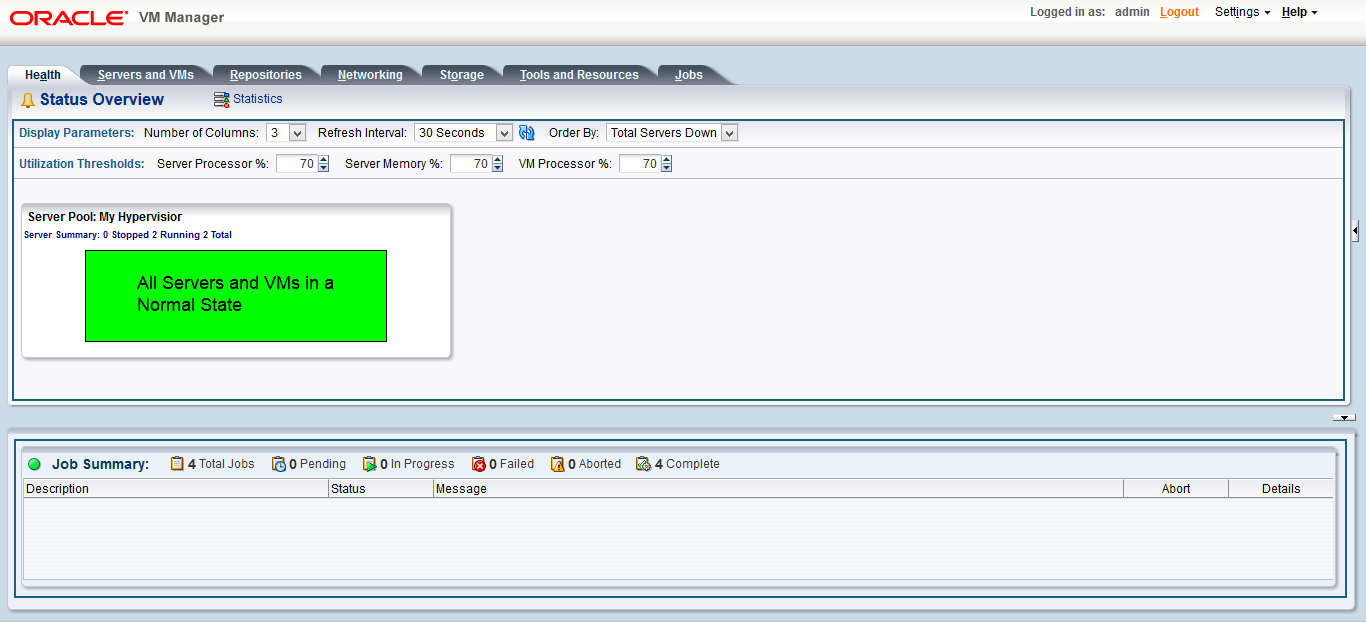
Oracle VM Manager ürünü Oracle ın geliştirmiş olduğu sanallaştırma çözümünün yönetim paneli için kullanılmakta olan uygulamadır.
Oracle VM Manager ürünü VMware daki vcenter veya Red Hat Virtualization Manager gibi düşünebilir.
Oracle VM manager kurulumu için öncelikle Oracle enterprise Linux kurulumu gerçekleştirmemiz gerekiyor, bu dökümanda oracle enterprise linux un kurulmuş olduğunu varsayarak ilerleyeceğim. İşletim sistemi kurulduktan sonra tüm updatelerin yüklenmesi tavsiye edilmekte.
Öncelikle işletim sistemi tarafında küçük değişiklikler yapmamız gerekiyor, işlem adımları şu şekilde,
[important]
# vi /etc/hosts
1.1.1.1 oraclemanager.kayhankayihan.com oraclemanager
mkdir /OVMCD/
[/important]
Bu işlemler sonrasında oracle manager için ISO dosyasını download ederek her hangi bir dizine indirmemiz gerekir.
ISO dosyası sisteme indirildikten sonra aşağıdaki adımları izleyebiliriz.
[important]
# mount -o loop /root/V42727-01-manager.iso /OVMCD/
# cd /OVMCD
# ./createOracle.sh
[/important]
CreateOracle.sh çalıştırıldığında sistemde bazı değişiklikler yapar, bu değişklikler ihtiyaç duyulan user ve grupların eklenmesi, oracle home directory nin belirlenmesi gibi. createOracle.sh çalıştırıldığında çıktı aşağıdaki gibidir.
[notice]Adding group ‘oinstall’ with gid ‘54321’ …
Adding group ‘dba’
Adding user ‘oracle’ with user id ‘54321’, initial login group ‘dba’, supplementary group ‘oinstall’ and home directory ‘/home/oracle’ …
Changing ownership of ‘/home/oracle’ to oracle:dba
Creating user ‘oracle’ succeeded …
Verifying user ‘oracle’ OS prerequisites for Oracle VM Manager …
oracle soft nofile 8192
oracle hard nofile 8192
oracle soft nproc 4096
oracle hard nproc 4096
oracle soft core unlimited
oracle hard core unlimited
Setting user ‘oracle’ OS limits for Oracle VM Manager …
Altered file /etc/security/limits.conf
Original file backed up at /etc/security/limits.conf.orabackup
Verifying & setting of user limits succeeded …
Creating mountpoint ‘/u01’ …
Modifying iptables for OVM
Adding rules to enable access to:
7002 : Oracle VM Manager https
15901 : Oracle VM Manager VM console proxy
54321 : Oracle VM Manager core
54322 : Oracle VM Manager core via SSL
123 : NTP
10000 : Oracle VM Manager CLI Tool
iptables: Saving firewall rules to /etc/sysconfig/iptables:[ OK ]
Rules added.[/notice]
createOracle.sh çalıştırıldığında her hangi bir problem ile karşılaşılmadıysa runInstaller.sh çalıştırılabilir,
[important]
# ./runInstaller.sh
[/important]
[notice]Oracle VM Manager Release 3.2.7 Installer
Oracle VM Manager Installer log file:
/tmp/ovm-manager-3-install-2014-03-10-213313.log
Please select an installation type:
1: Simple (includes database if necessary)
2: Custom (using existing Oracle database)
3: Uninstall
4: Help
Select Number (1-4): 1
Starting production with local database installation …
Verifying installation prerequisites …
One password is used for all users created and used during the installation.
Enter a password for all logins used during the installation:
Enter a password for all logins used during the installation (confirm):
Verifying configuration …
Start installing the configured components:
1: Continue
2: Abort
Select Number (1-2): 1
Step 1 of 9 : Database Software…
Installing Database Software…
Retrieving MySQL Database 5.5 …
Unzipping MySQL RPM File …
Installing MySQL 5.5 RPM package …
Configuring MySQL Database 5.5 …
Installing MySQL backup RPM package …
Step 2 of 9 : Java …
Installing Java …
Step 3 of 9 : Database schema …
Creating database ‘ovs’ …
Creating user ‘ovs’ for database ‘ovs’…
Step 4 of 9 : WebLogic …
Retrieving Oracle WebLogic Server 11g …
Installing Oracle WebLogic Server 11g …
Step 5 of 9 : ADF …
Retrieving Oracle Application Development Framework (ADF) …
moUnzipping Oracle ADF …
unt -o loop Installing Oracle ADF …
Installing Oracle ADF Patch…
Step 6 of 9 : Oracle VM …
Retrieving Oracle VM Manager Application …
Extracting Oracle VM Manager Application …
Installing Oracle VM Manager Core …
Step 7 of 9 : Domain creation …
Creating Oracle WebLogic Server domain …
Starting Oracle WebLogic Server 11g …
Configuring data source ‘OVMDS’ …
Creating Oracle VM Manager user ‘admin’ …
Step 8 of 9 : Deploy …
Deploying Oracle VM Manager Core container …
Deploying Oracle VM Manager UI Console …
Deploying Oracle VM Manager Help …
Granting ovm-admin role to user ‘admin’ …
Set Log Rotation …
Disabling HTTP and enabling HTTPS…
Configuring Https Identity and Trust…
Configuring Weblogic parameters…
Step 9 of 9 : Oracle VM Manager Shell …
Retrieving Oracle VM Manager Shell & API …
Extracting Oracle VM Manager Shell & API …
Installing Oracle VM Manager Shell & API …
Retrieving Oracle VM Manager Upgrade tool …
Extracting Oracle VM Manager Upgrade tool …
Installing Oracle VM Manager Upgrade tool …
Retrieving Oracle VM Manager CLI tool …
Extracting Oracle VM Manager CLI tool…
Installing Oracle VM Manager CLI tool …
Copying Oracle VM Manager shell to ‘/usr/bin/ovm_shell.sh’ …
Installing ovm_admin.sh in ‘/u01/app/oracle/ovm-manager-3/bin’ …
Installing ovm_upgrade.sh in ‘/u01/app/oracle/ovm-manager-3/bin’ …
Enabling Oracle VM Manager service …
Shutting down Oracle VM Manager instance …
Starting Oracle VM Manager instance …
Waiting for the application to initialize …
Oracle VM Manager is running …
Please wait while WebLogic configures the applications… This can take up to 5 minutes.
Oracle VM Manager installed.
Installation Summary
——————–
Database configuration:
Database type : MySQL
Database host name : localhost
Database name : ovs
Database listener port : 49500
Database user : ovs
Weblogic Server configuration:
Administration username : weblogic
Oracle VM Manager configuration:
Username : admin
Core management port : 54321
UUID : 0004fb0000010000637655da762d5eaf
Passwords:
There are no default passwords for any users. The passwords to use for Oracle VM Manager, Database, and Oracle WebLogic Server have been set by you during this installation. In the case of a default install, all passwords are the same.
Oracle VM Manager UI:
https://ovm.endersys.com:7002/ovm/console
Log in with the user ‘admin’, and the password you set during the installation.
Please note that you need to install tightvnc-java on this computer to access a virtual machine’s console.
For more information about Oracle Virtualization, please visit:
http://www.oracle.com/virtualization/
Oracle VM Manager installation complete.
Please remove configuration file /tmp/ovm_configQUMWee.[/notice]
Kurulum işlemi tamamlandığında Oracle VM Manager için erişim adresi ve kullanıcı bilgileri sizinle paylaşılır.
Kurulum sonrasında /tmp deki konfigürasyon dosyasının silinmesi isteni, bunu silerek web ara yüzüne erişim sağlayabilirisiniz.
[important]# rm -rf /tmp/ovm_configQUMWee.[/important]
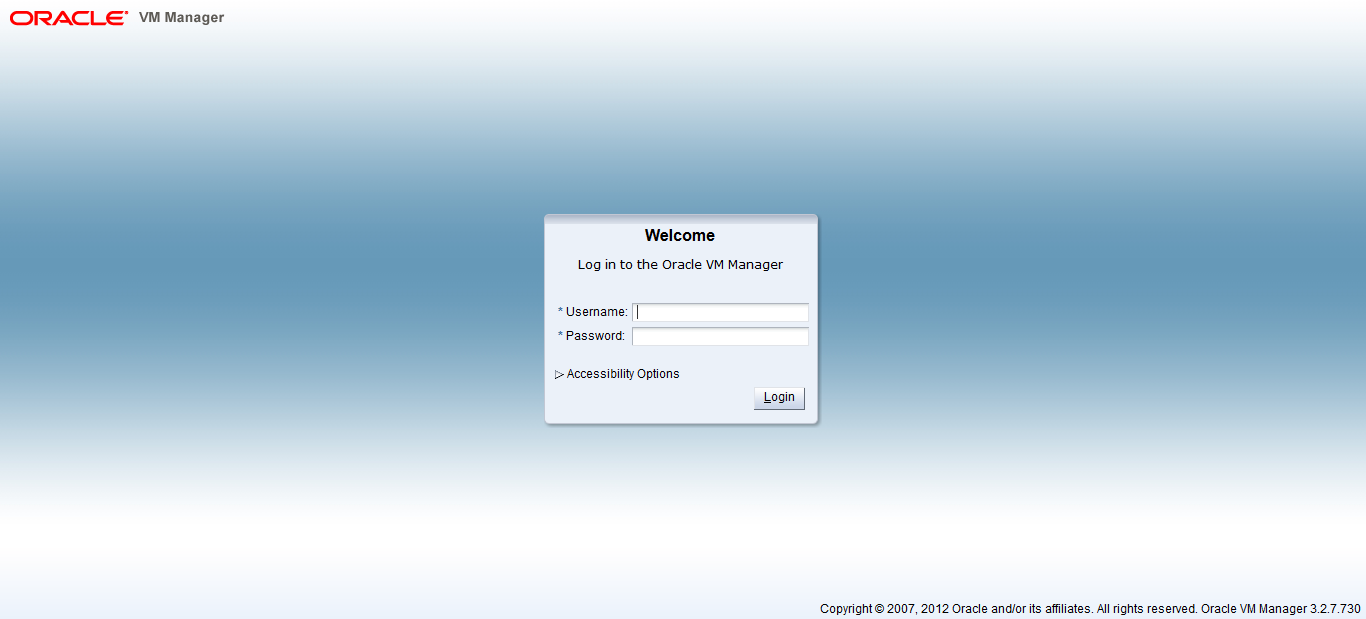
Ara yüze erişim sağladığınızdaki ilk görüntüler aşağıdaki gibidir.